In today's digital age, businesses and professionals need a secure and reliable way to manage their documents and data online. This is where MyDocSafe comes in – a powerful digital document management and secure file-sharing platform that allows users to upload, manage, sign, and share their documents securely in the cloud. Whether you're a small business owner, a freelancer, or part of a larger organization, MyDocSafe can help you streamline your document workflows and improve collaboration while keeping your data safe from unauthorized access. In this post, we'll take a closer look at a specific feature of MyDocSafe. We refer to the possibility of sending questionnaires using this powerful tool.
Getting ready to create and send your first questionnaire with MyDocSafe
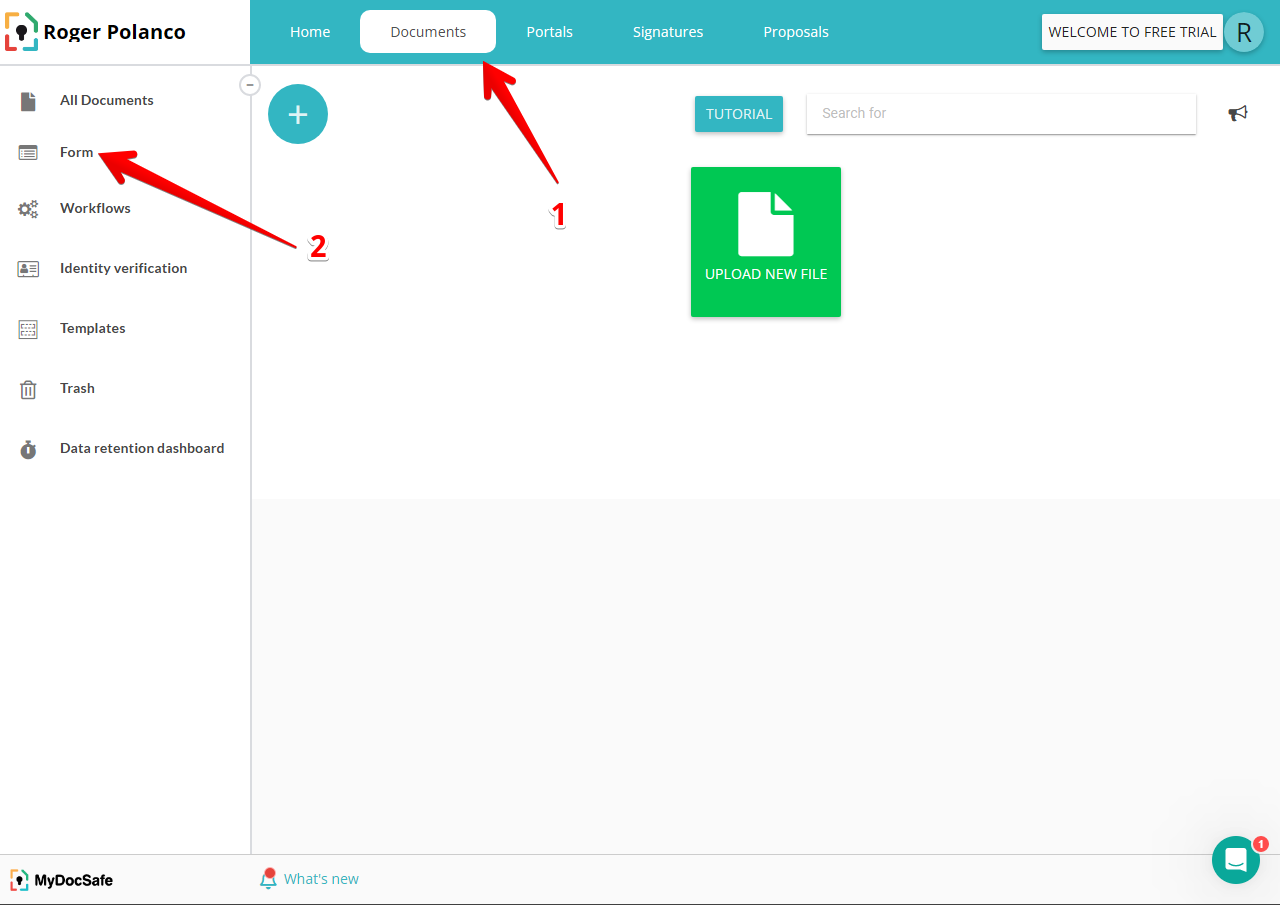
Next, we will learn how to create and send a questionnaire from MyDocSafe. We will walk you through this process step by step. Therefore, the first thing you will do is click on Documents, located at the top of the dashboard. Then click on Forms in the left menu.
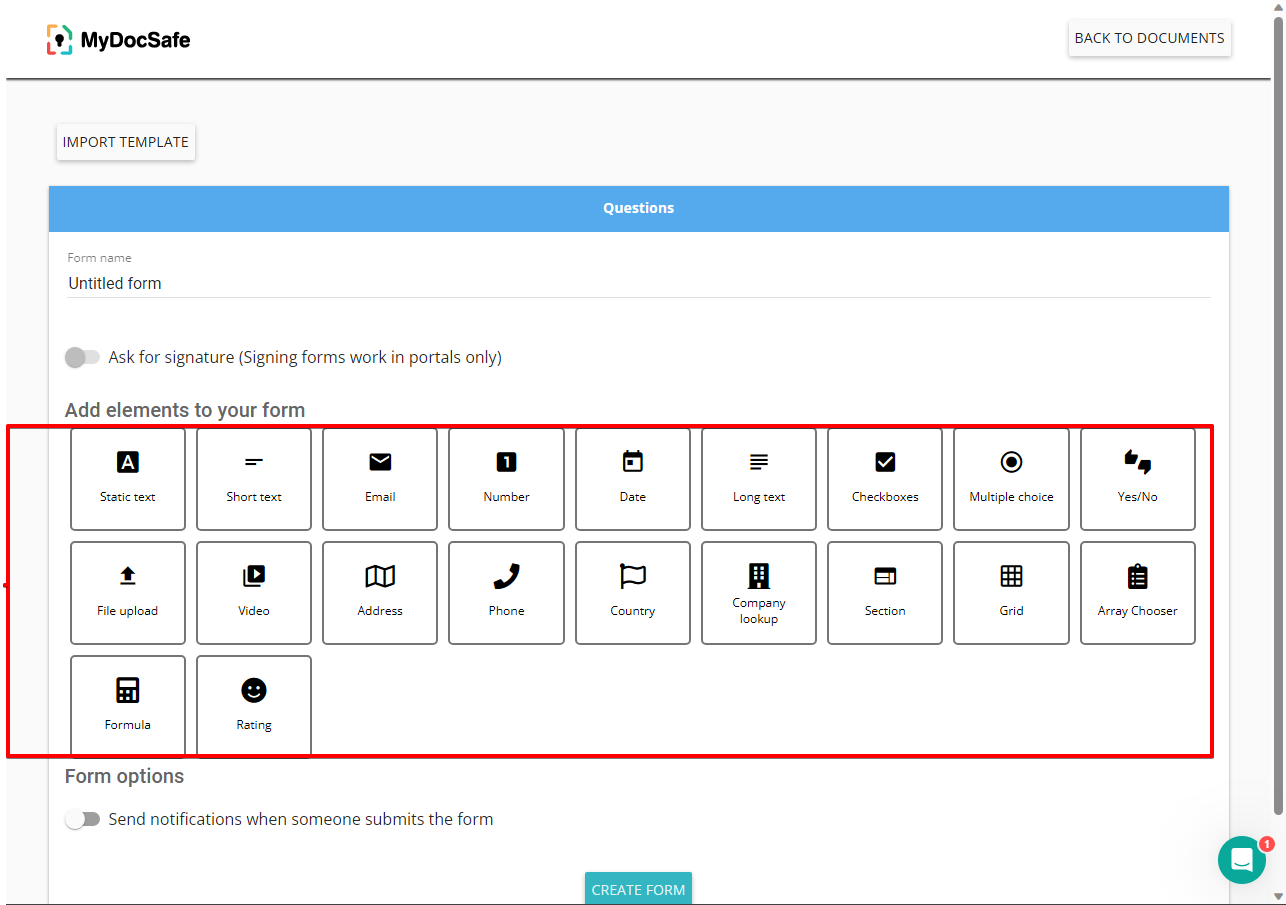
You will immediately be redirected to a form editor consisting of a number of widgets. These will be used to assemble the questionnaire. In addition, most of the widgets are very easy to understand. Indeed, we will see elements related to phone numbers, date, address, among others. It is also important to mention that each value also has advanced options that allow to complement its operation.
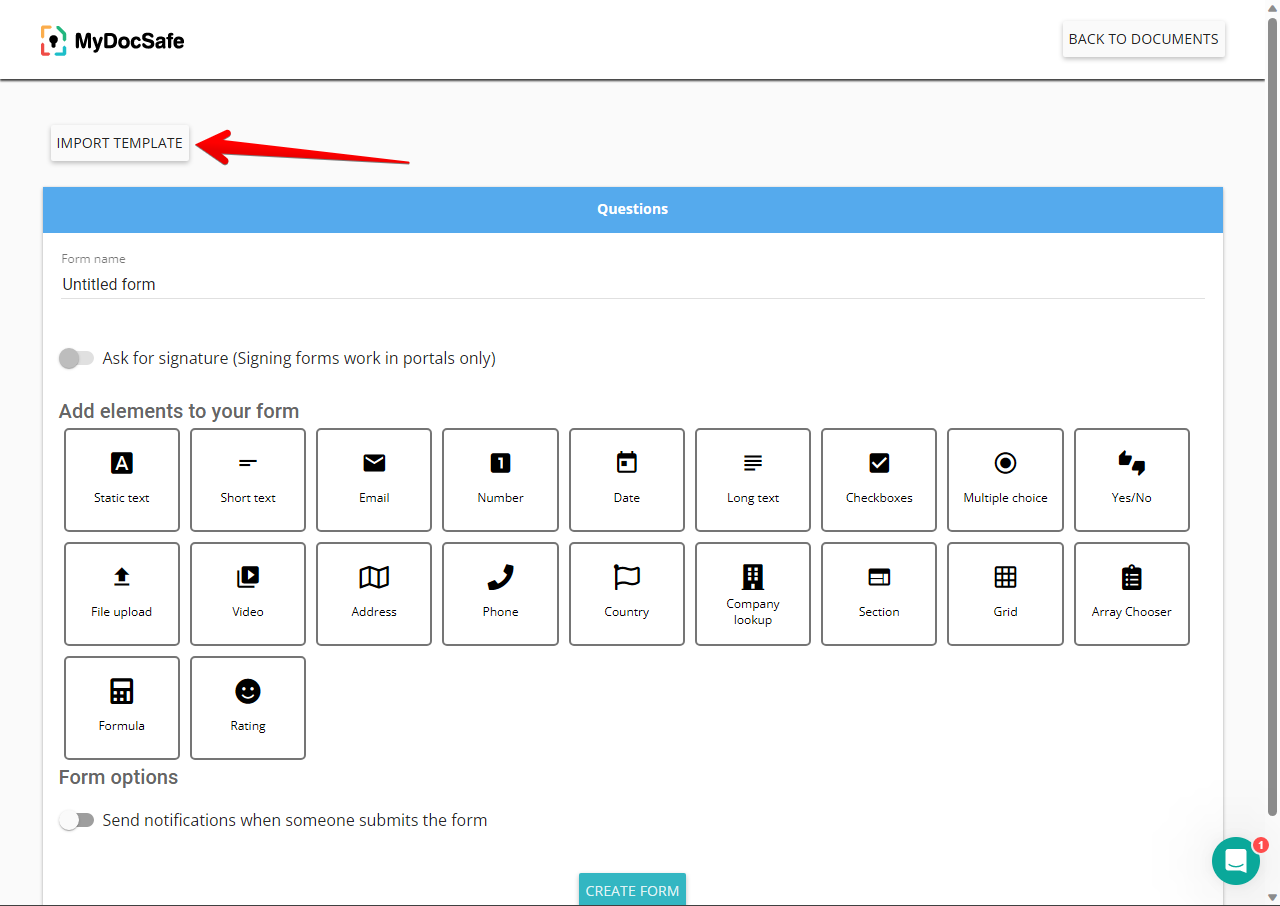
However, in this post, we will learn how to create a simple web form and send it to clients. With this in mind, we will import a ready-to-use web form from the tool's library. With this in mind, click on Import Template.
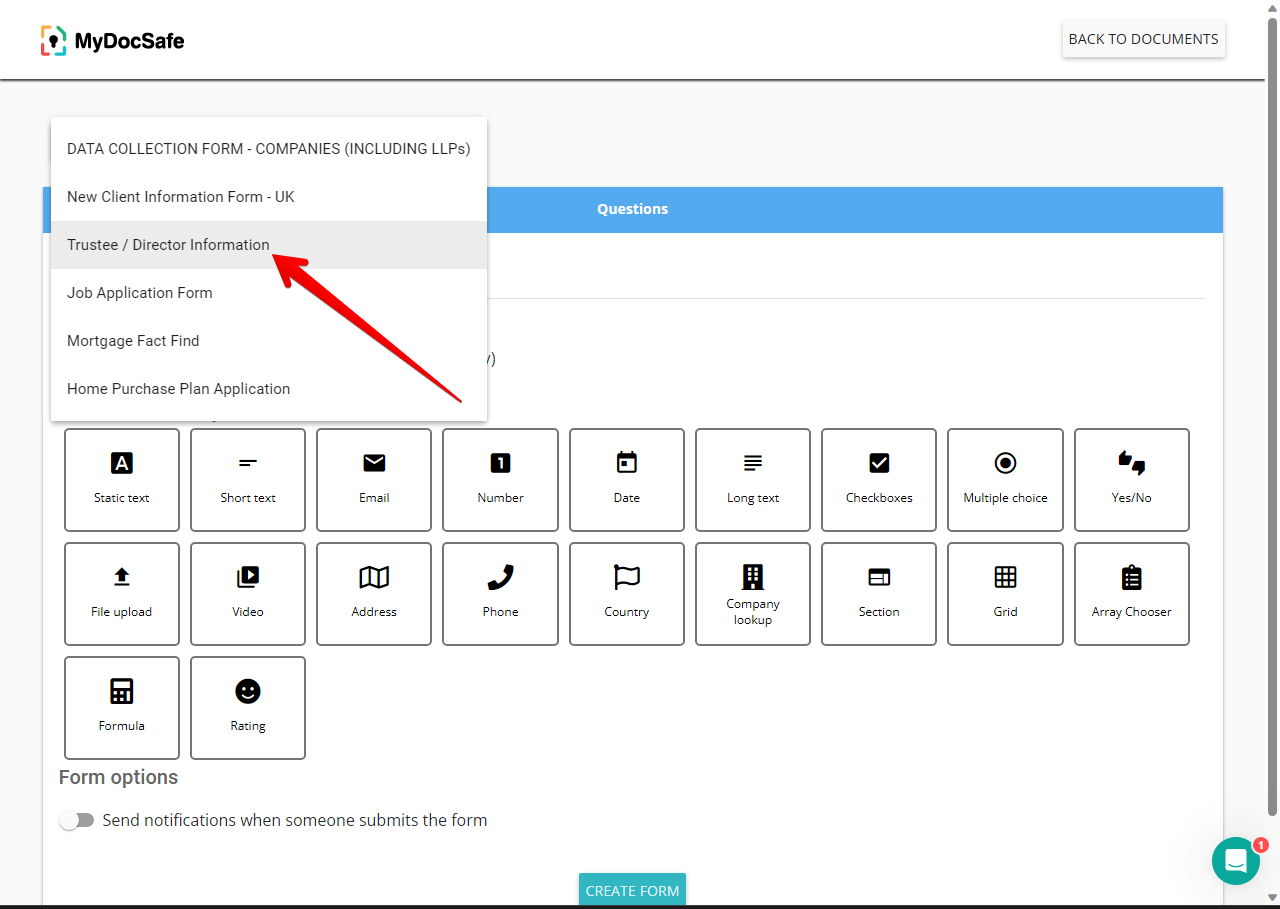
Next, a new menu will be displayed. Please click on Trustee/Director Information.
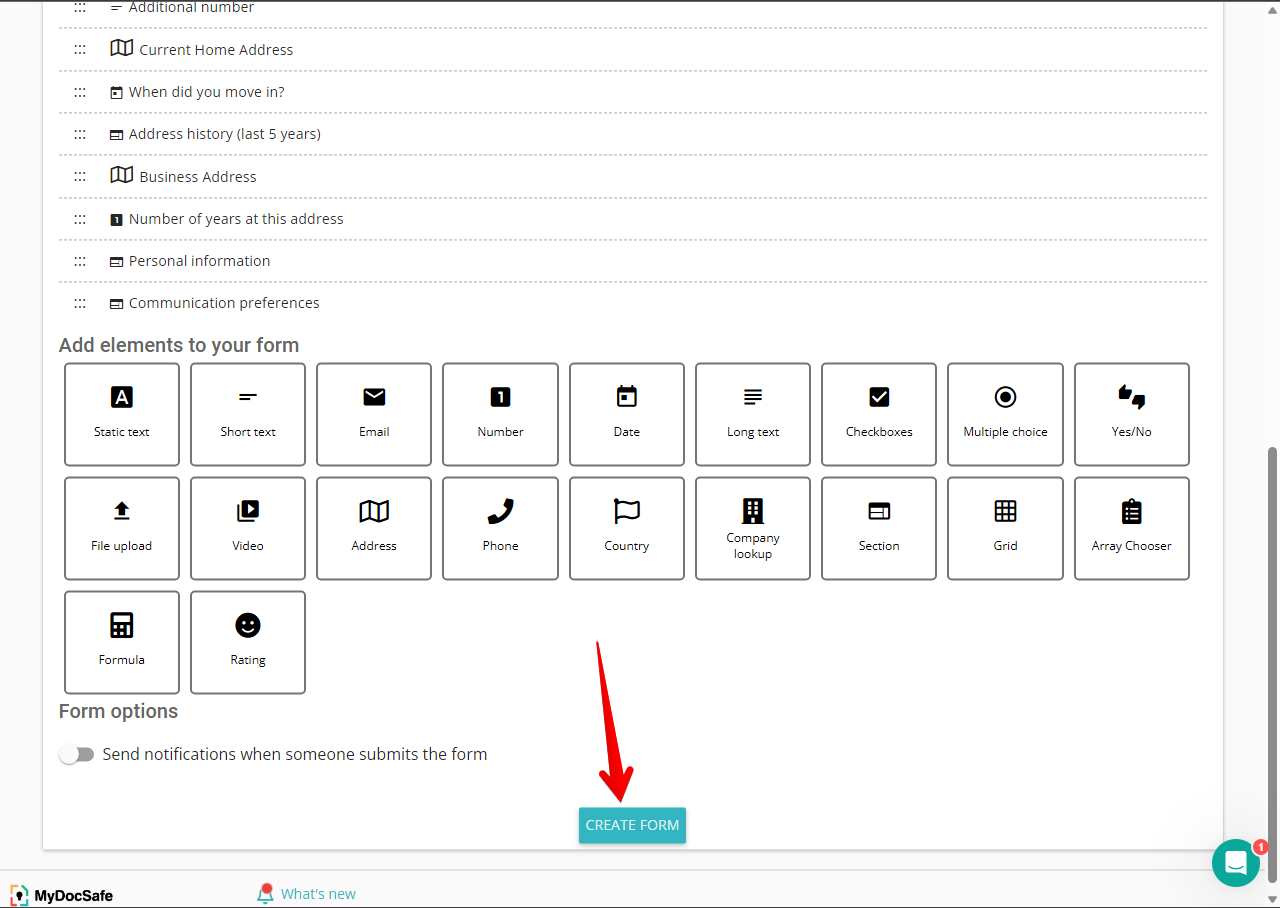
Once the template is loaded, just scroll down to Create Form.
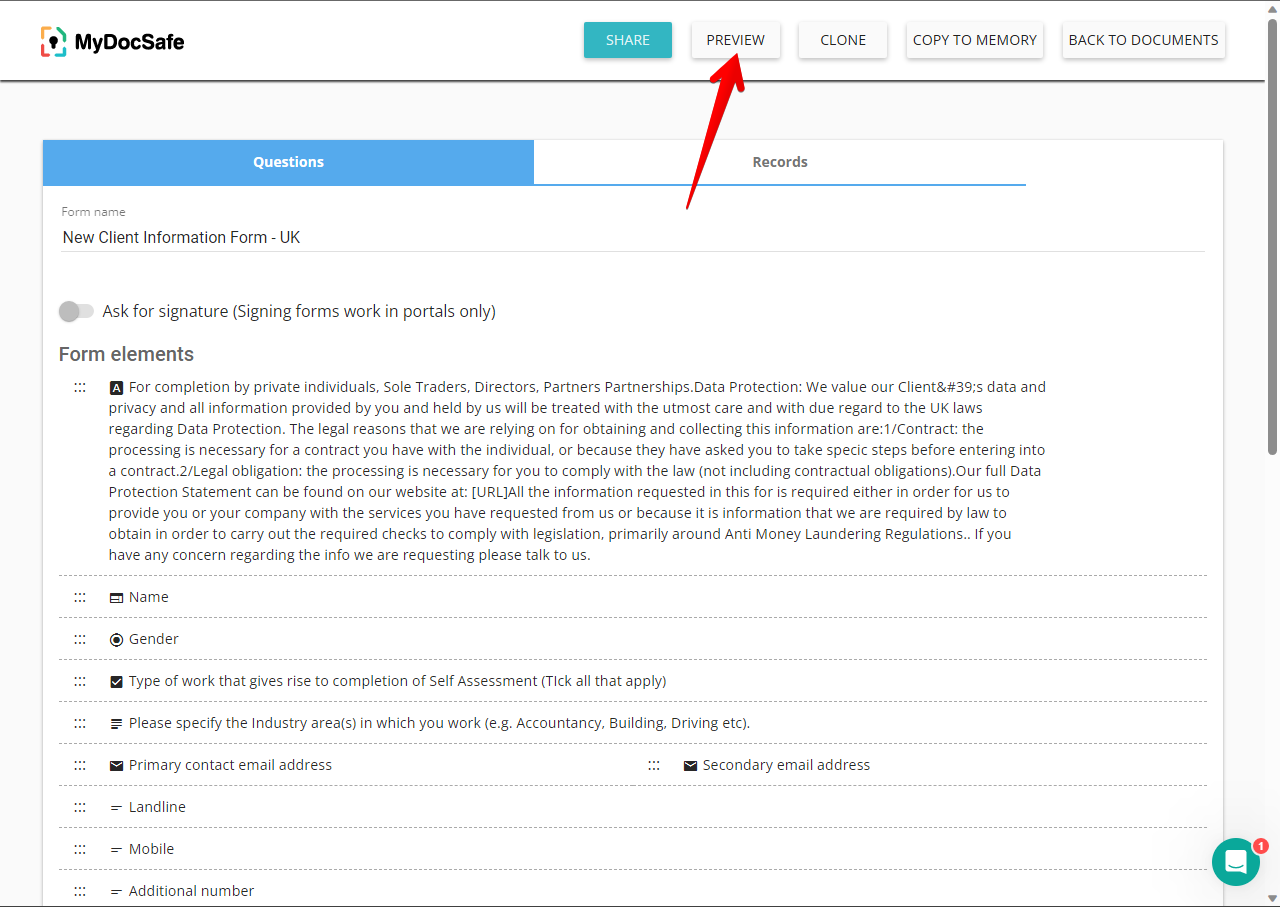
Once this is done, the form will be correctly imported into our folder. Additionally, we will be able to access the Preview option. From there, we will see how the form will look like when the client opens it. Just click on the element.
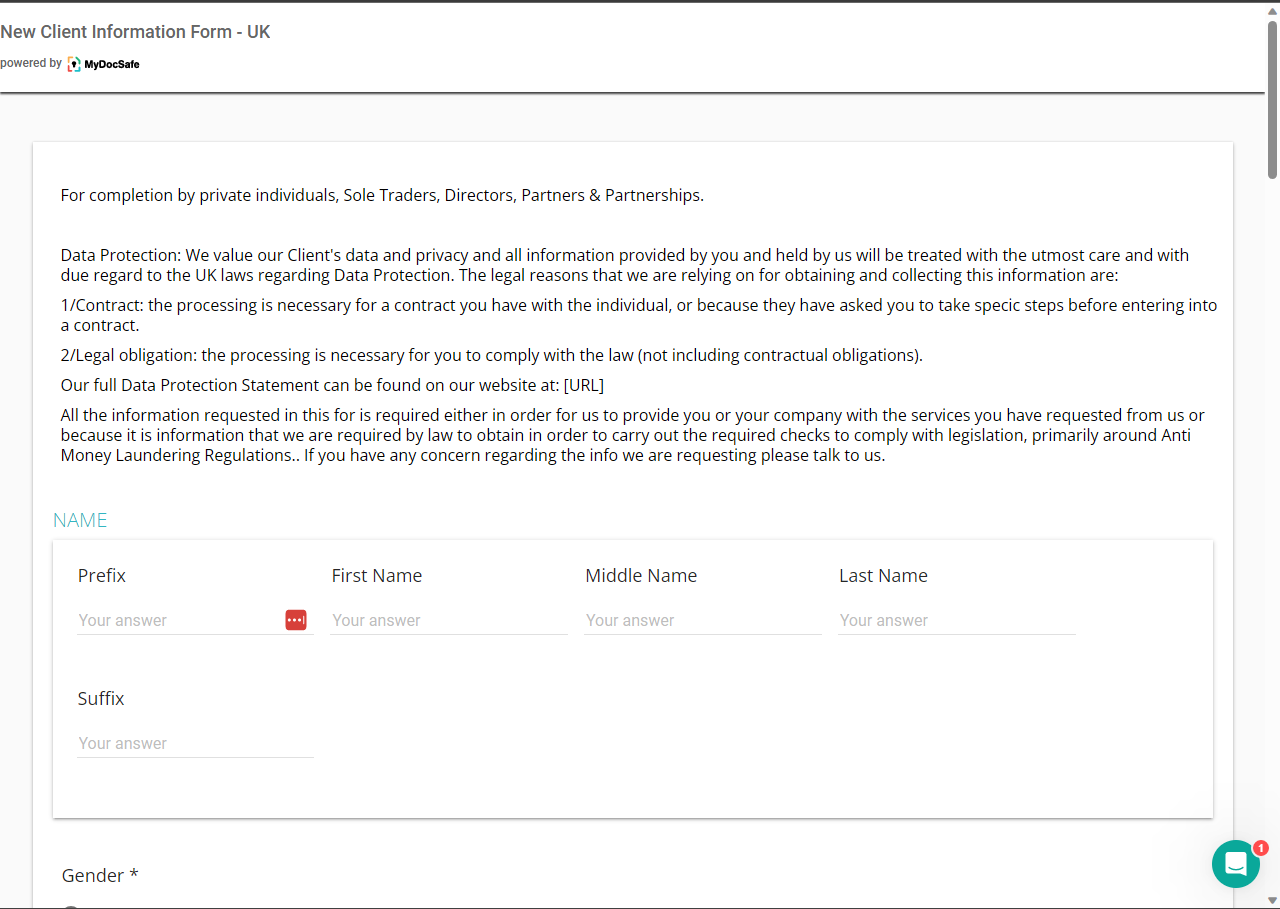
Immediately, the form will open in a separate tab. As mentioned, we will be able to see what it looks like when it opens. Therefore, it is possible to see which change or modification we want to make.
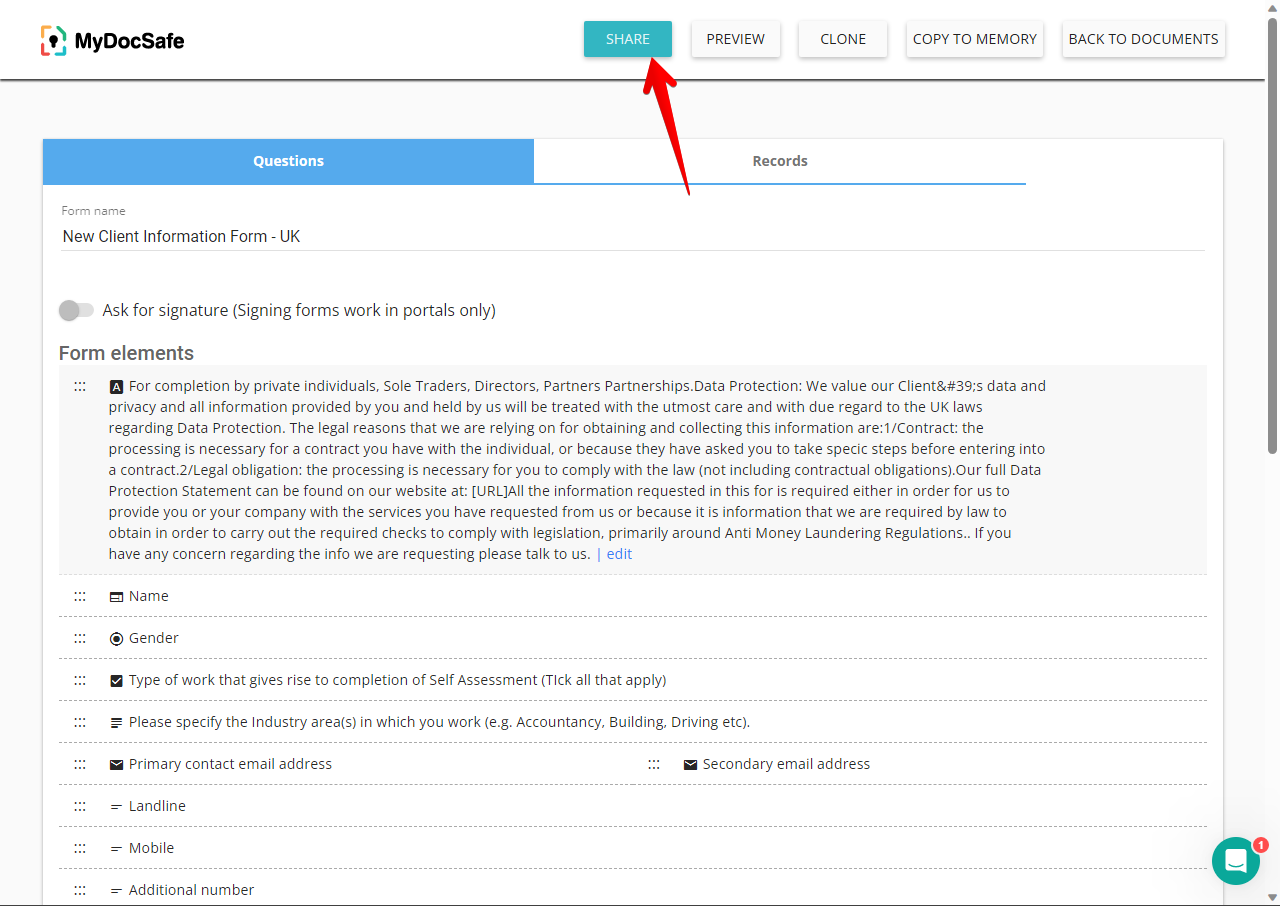
Back to the main editor and if we are satisfied with the result, we are ready for the next step. We have to click on the Share button.
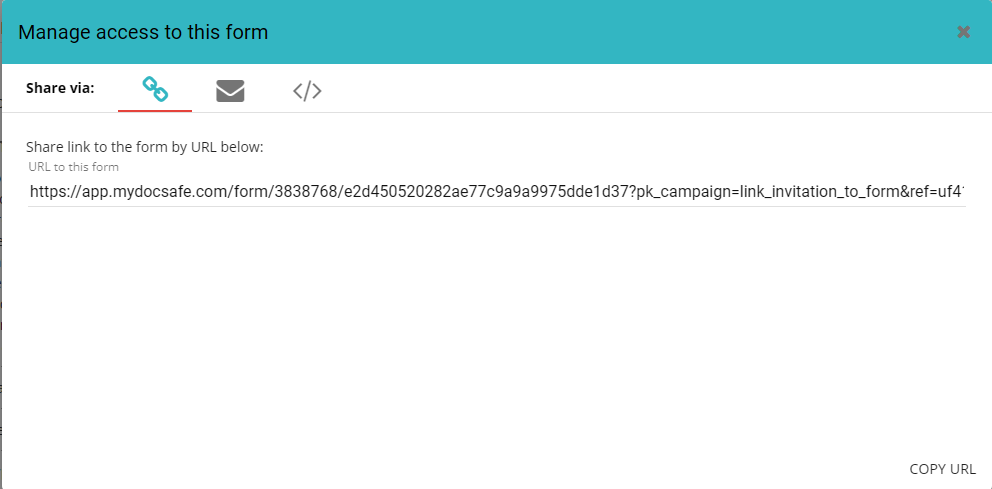
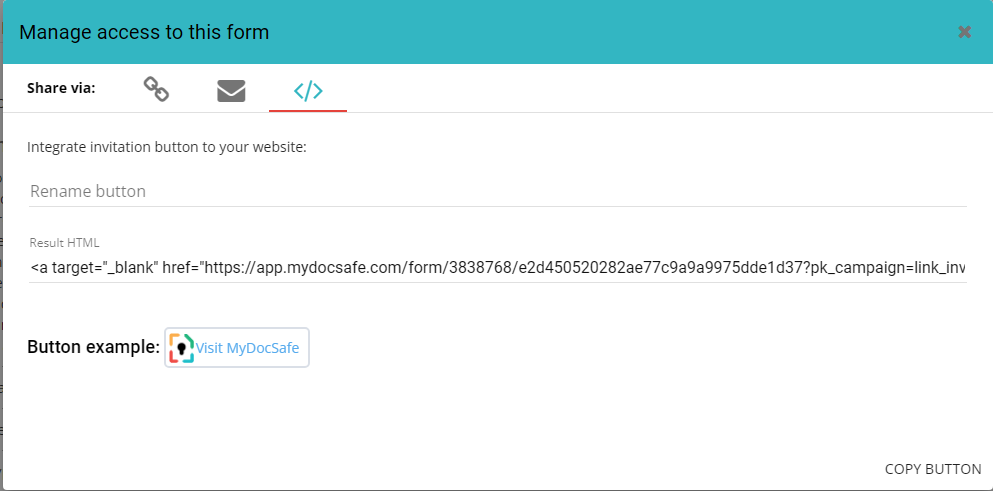
Immediately, we will see that there are 3 ways to send our questionnaire. We will be able to generate a link to the form by providing a URL. Furthermore, we can also send the invitation via email along with a text. Finally, we can integrate the invitation directly into our website. For this purpose, the tool generates an HTML code.

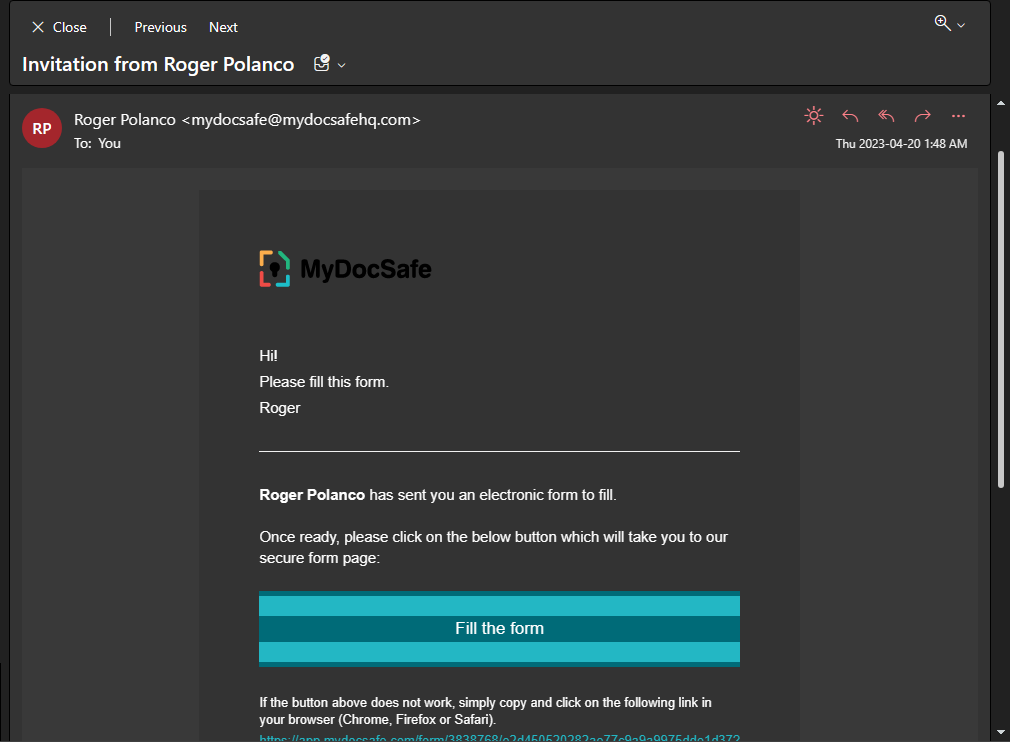
For the purpose of this post, we will send the invitation via email.

Finally, the invitation will be received by the selected recipients.
In this way, we learned how to create and send questionnaires using MyDocSafe.