MyDocSafe is a digital signing and document management software that enables businesses and organizations to manage their document workflows more efficiently. It offers a range of features, including secure document storage, electronic signatures, document sharing, and client portals. With MyDocSafe, users can send documents for signing electronically, track the progress of signatures and create custom templates for frequently used documents. Additionally, MyDocSafe provides a secure platform for the storage and management of sensitive documents, with granular access controls and audit trails to ensure compliance with regulatory requirements.
What is the importance of sending electronically signed documents?
There are several benefits to sending electronically signed documents, including:
- Efficiency: Electronic signature software eliminates the need for printing, signing, and scanning documents, making the signing process faster and more efficient.
- Security: Electronic signatures are sophisticated and secure, with advanced algorithms that ensure the document cannot be tampered with or altered in any way.
- Convenience: Electronic signatures can be added from anywhere, at any time, making it easy to sign documents even when you're on the go.
- Compliance: Electronic signatures are legally binding in many jurisdictions, including the United States and the European Union, which means that they can be used for a wide range of official documents.
- Cost Savings: Electronic signatures can save businesses time and money by eliminating the need for paper-based signatures, printing, and shipping.
How to send a document for signing from MyDocSafe
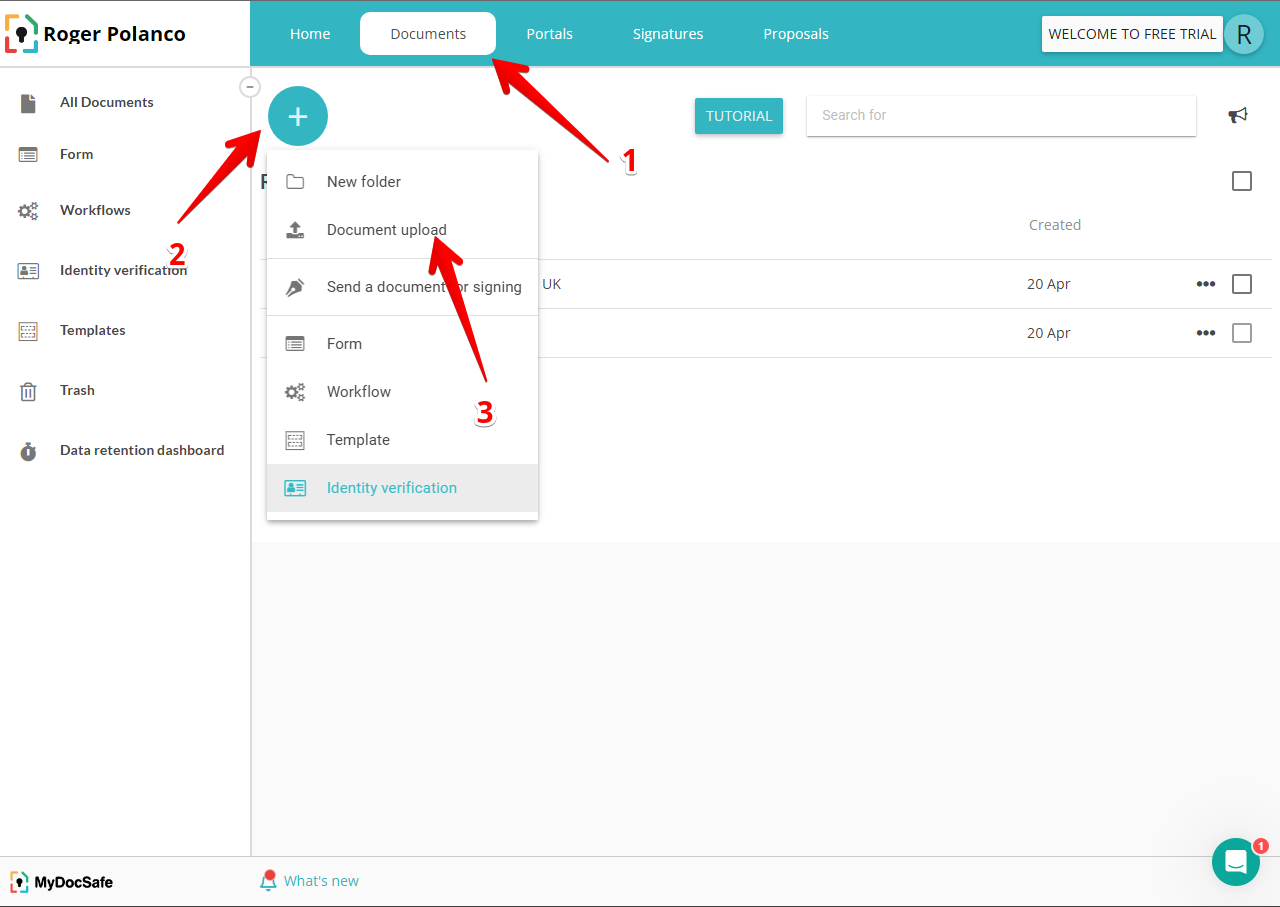
Now we will see how to send documents for signature easily. The first thing we will do is to click on the Documents section of our dashboard. Then we will select the document to be signed. If we don't have it in our data, we will proceed to upload it. To do so, click on the + icon, then click on Upload document.
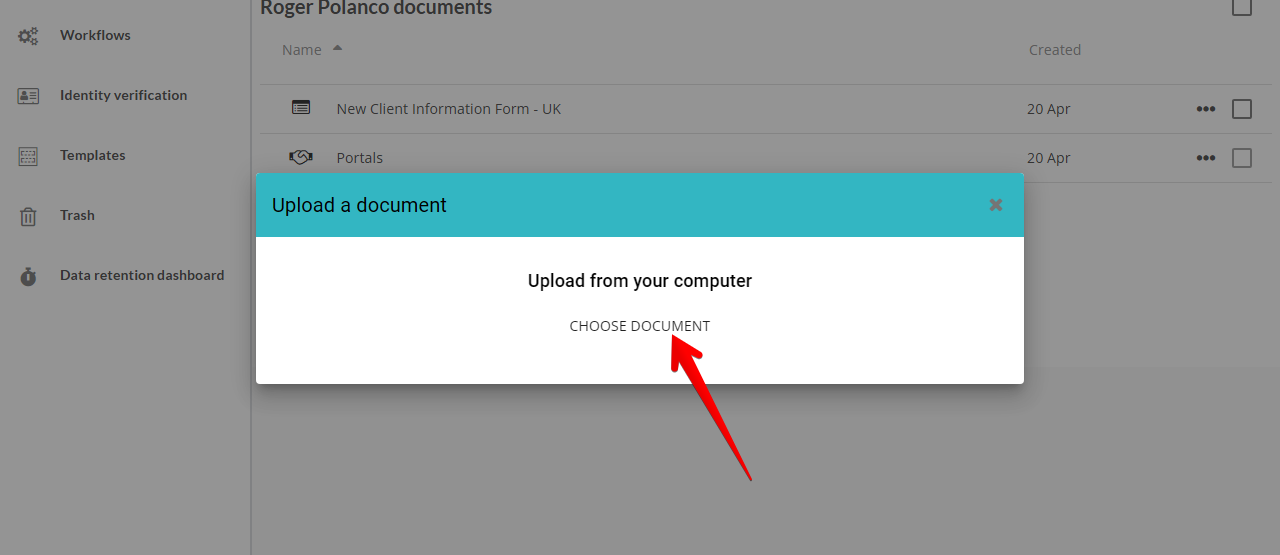
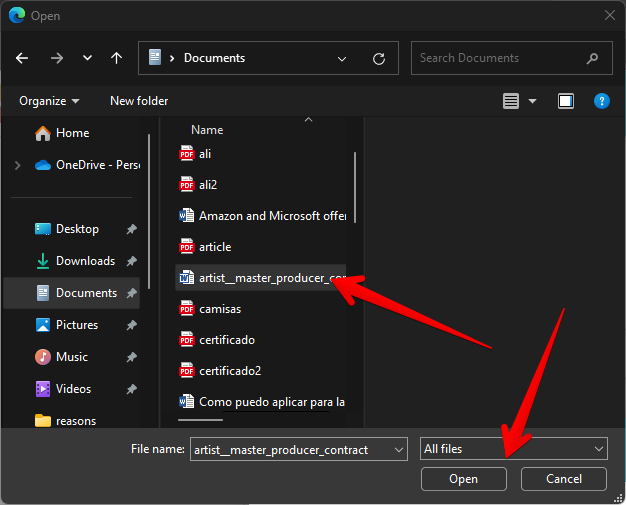
In the subsequent window, click on Choose document.. Now in the following dialog box we only have to select the document.
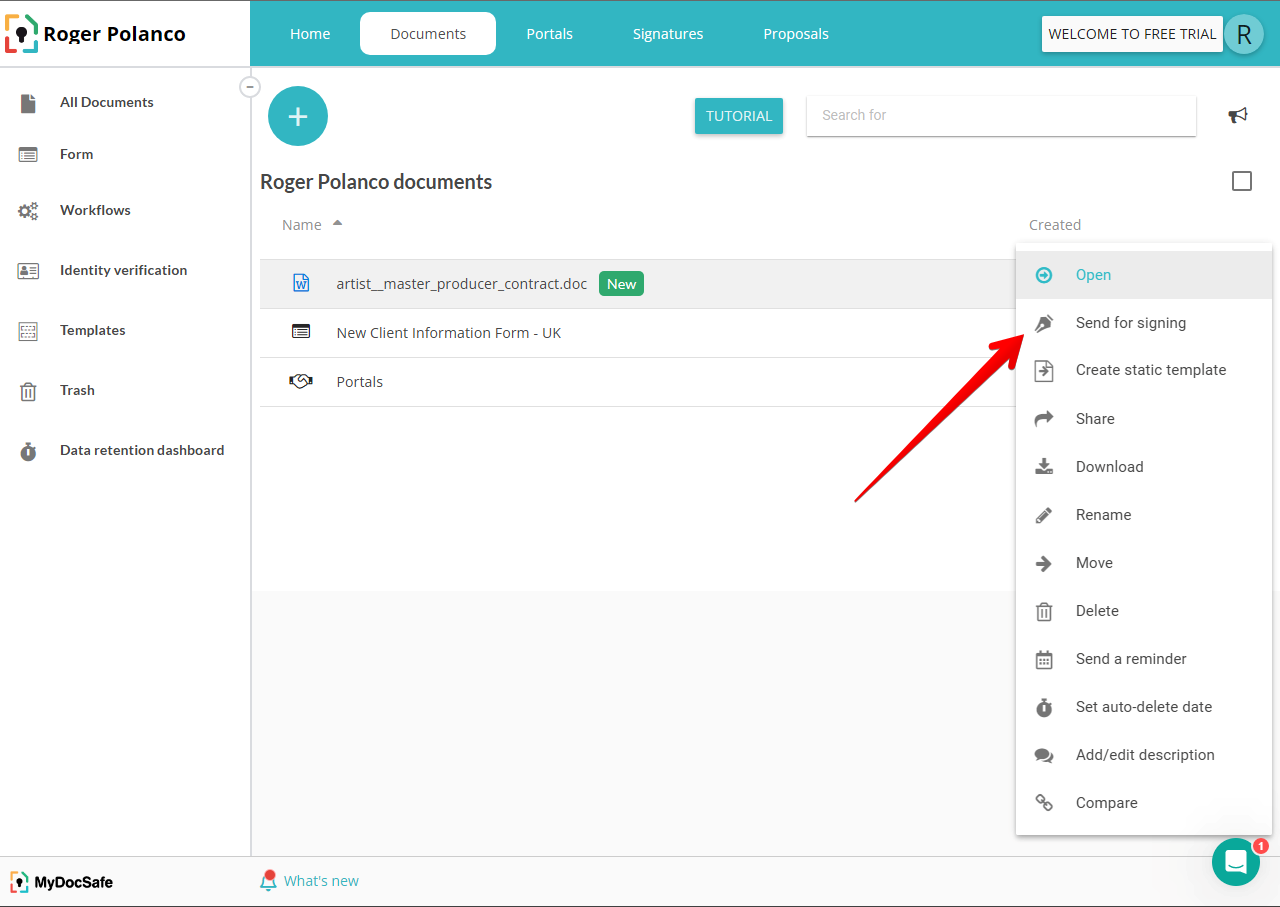
Once the document is loaded, we are ready to work with it. Consequently, let's open the menu by clicking on the 3 dots. Then select the Send for signing option.
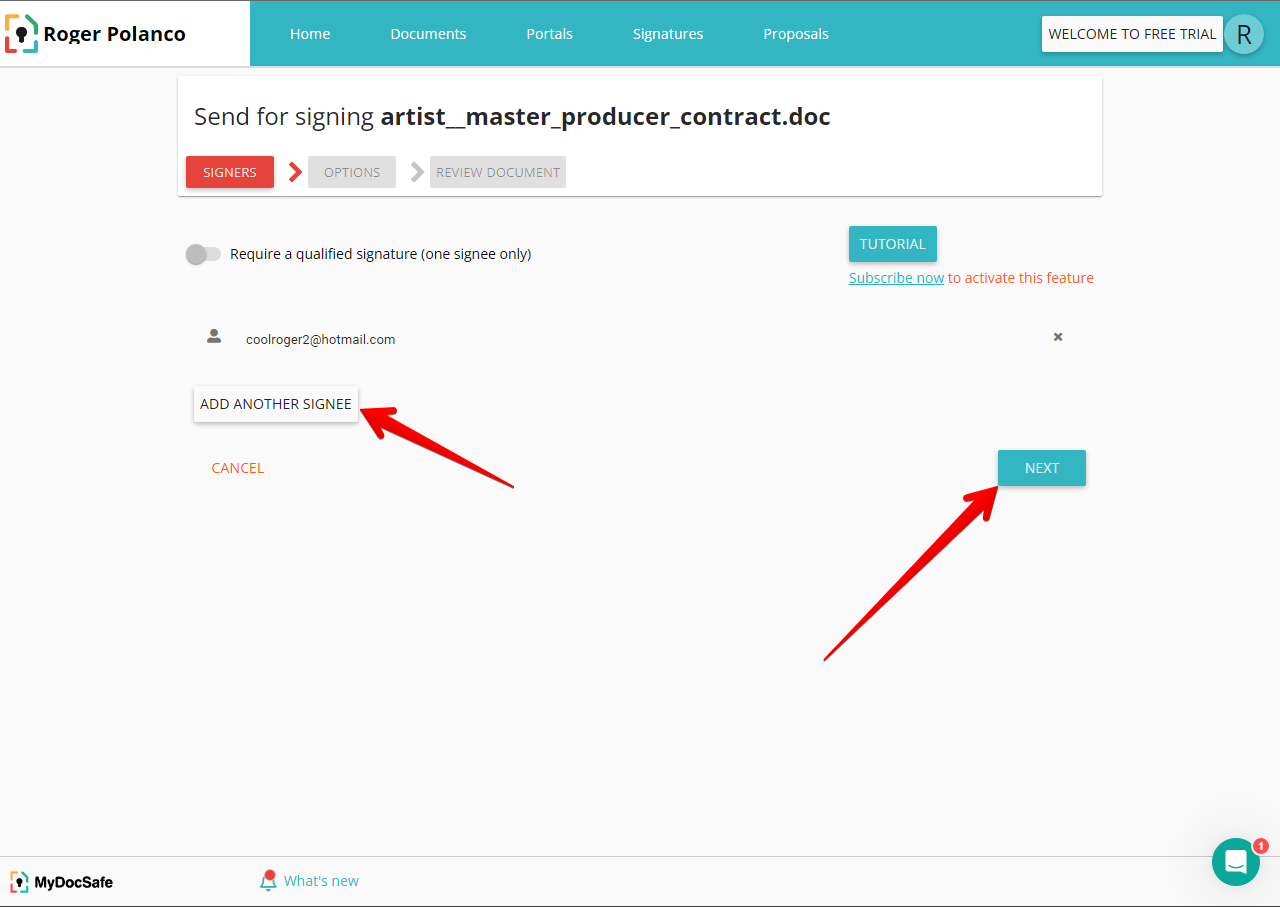
Then you must add the signer of the document. With this in mind, click on the Signers button. Now you just have to add the signer's contact in the corresponding box. When you are ready, just click on Next.

In the next screen, we will be able to add one or more signers. When you are ready, just click on Next.
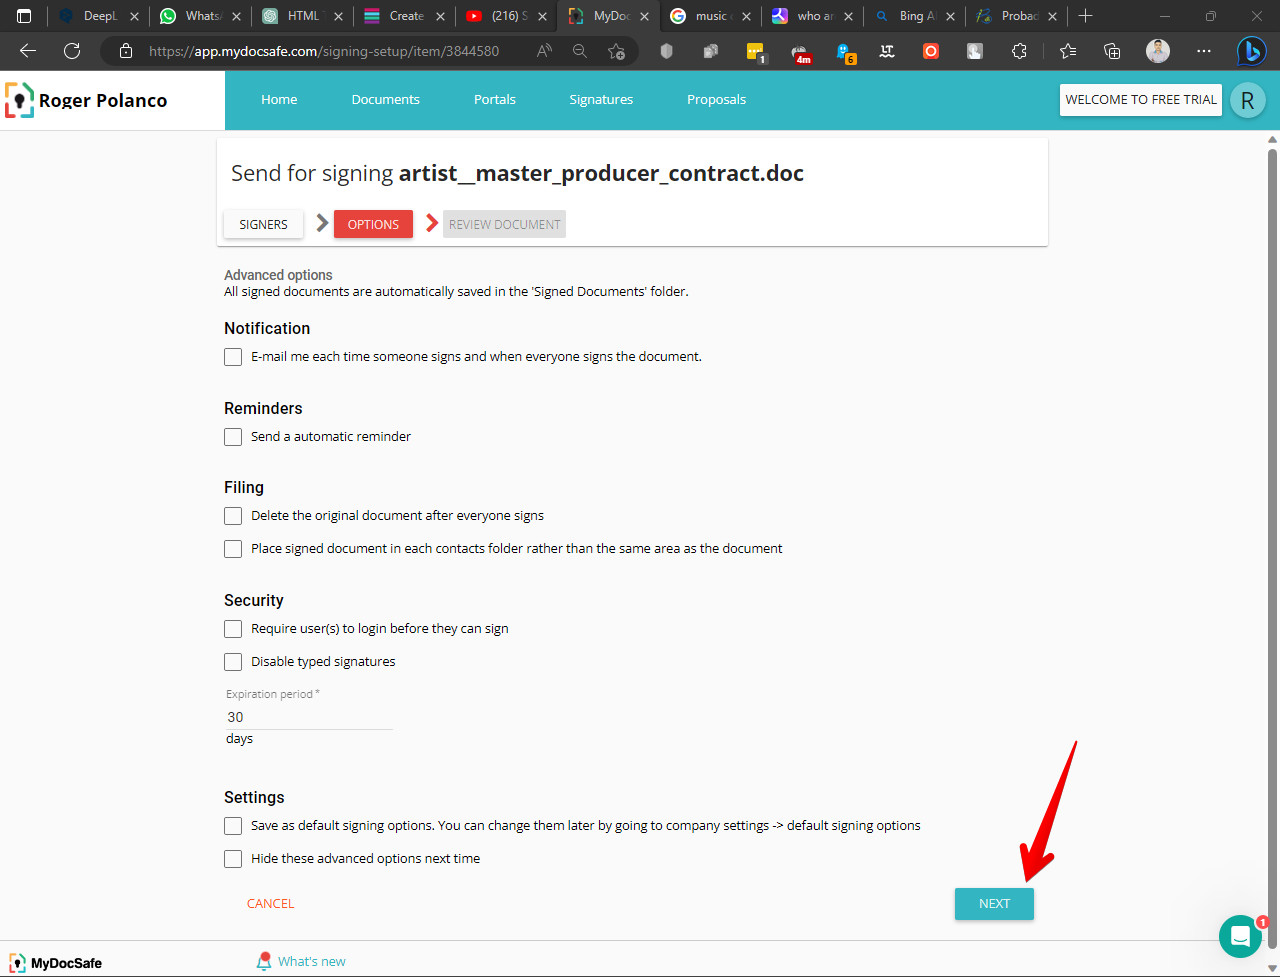
Next we will see several options related to the document. These are advanced options about notifications, reminders, and others. When you are ready, please click on Next.
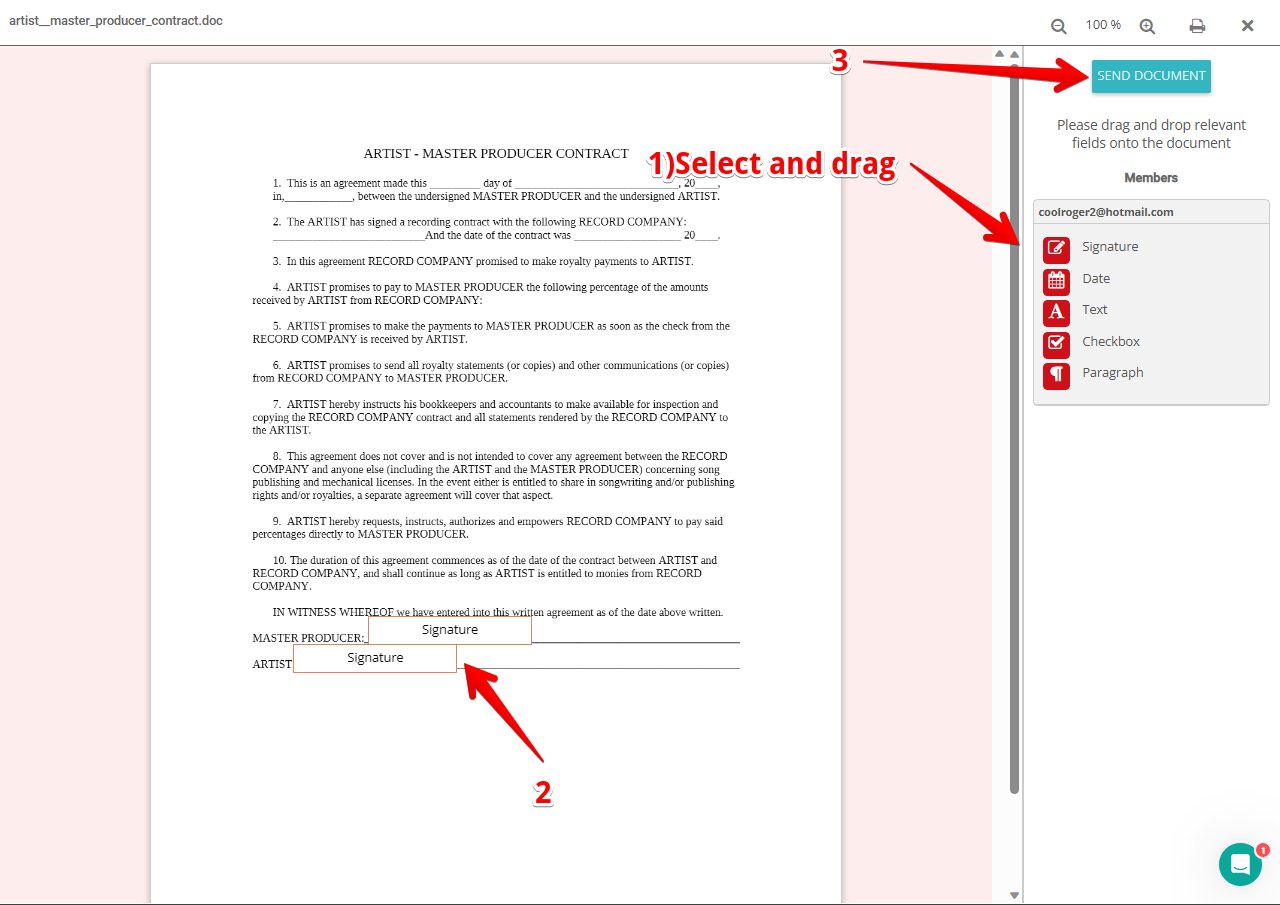
Consequently, a new window with a preview of the document to be signed will be displayed. Additionally, there is a toolbar with various elements that can be added. However, the one we are interested in this time is the one related to the Signature. Therefore, you just have to select the element and then drag it to the place in the document where you want the signature to be placed. When you have finished, please click on Send Document.
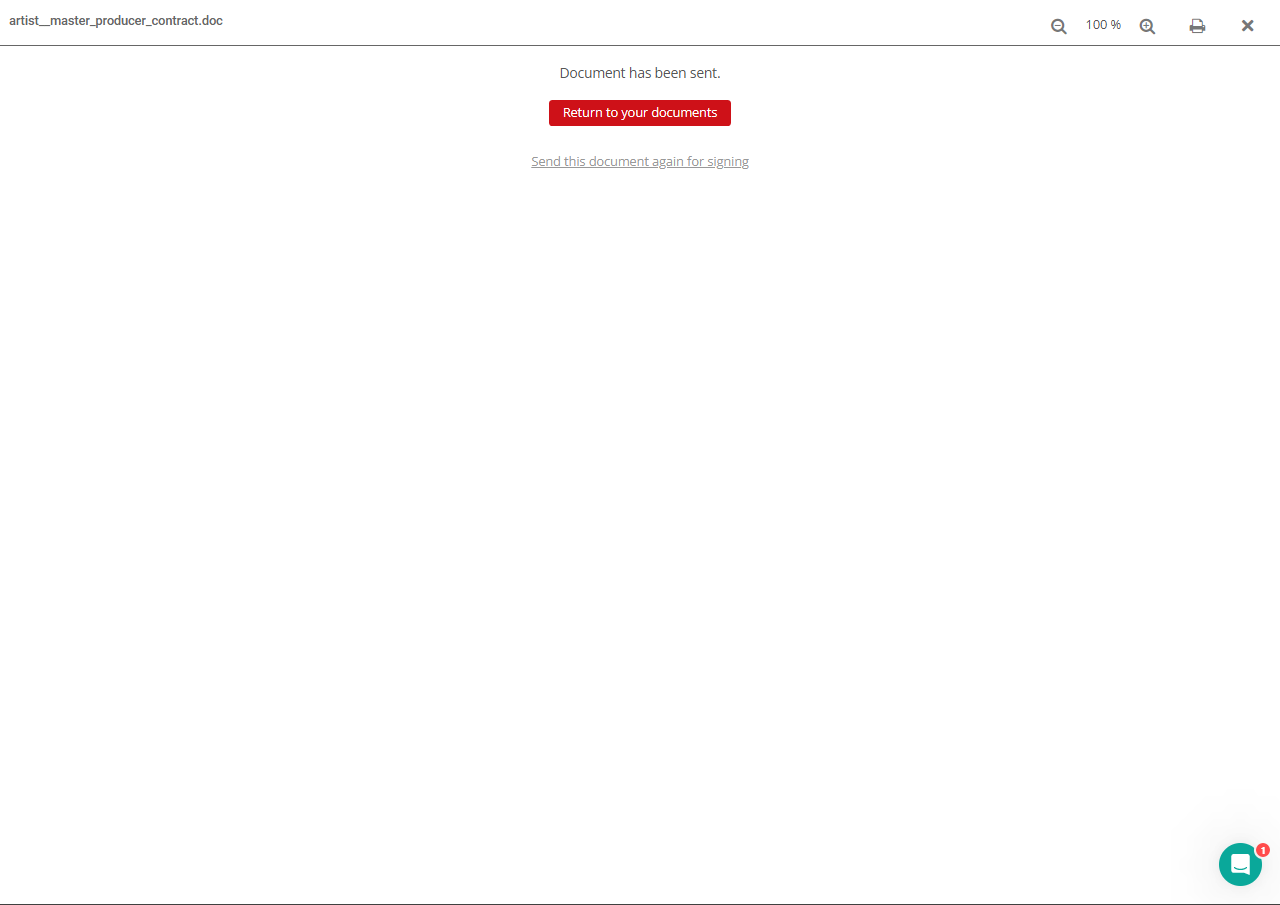
Finally, you will see a notification that the document has been successfully sent.
Receiving and checking the status of the received document.
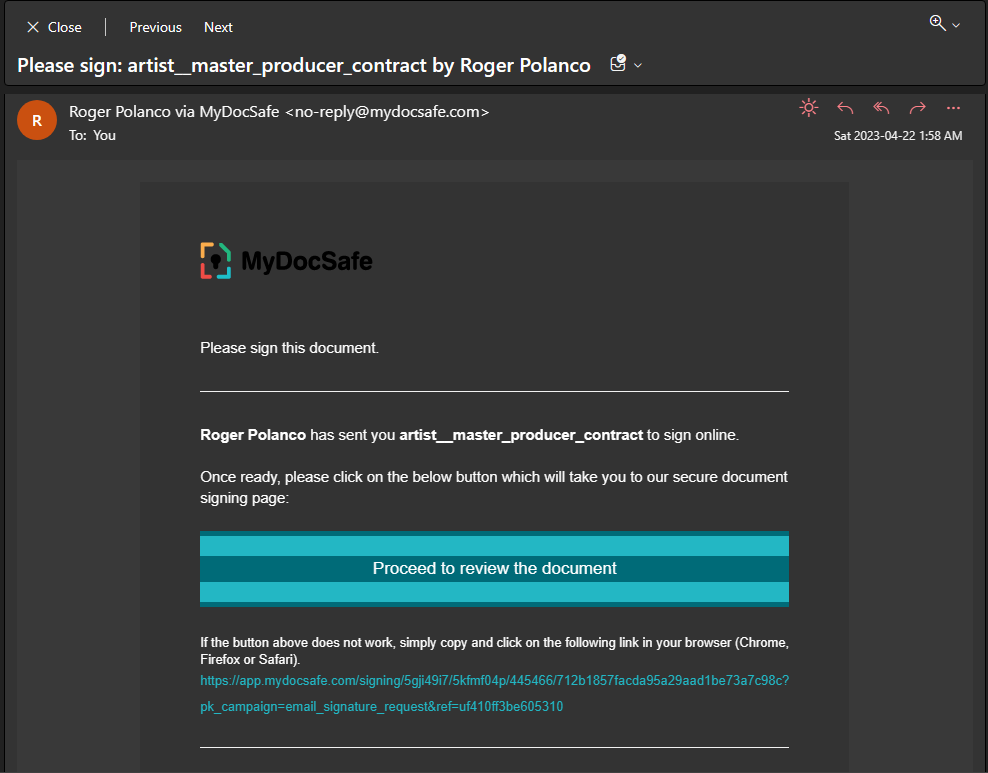
Now it is time to check and sign the document sent. With this in mind, recipients should check their inbox. Then, they just have to click on the corresponding link.
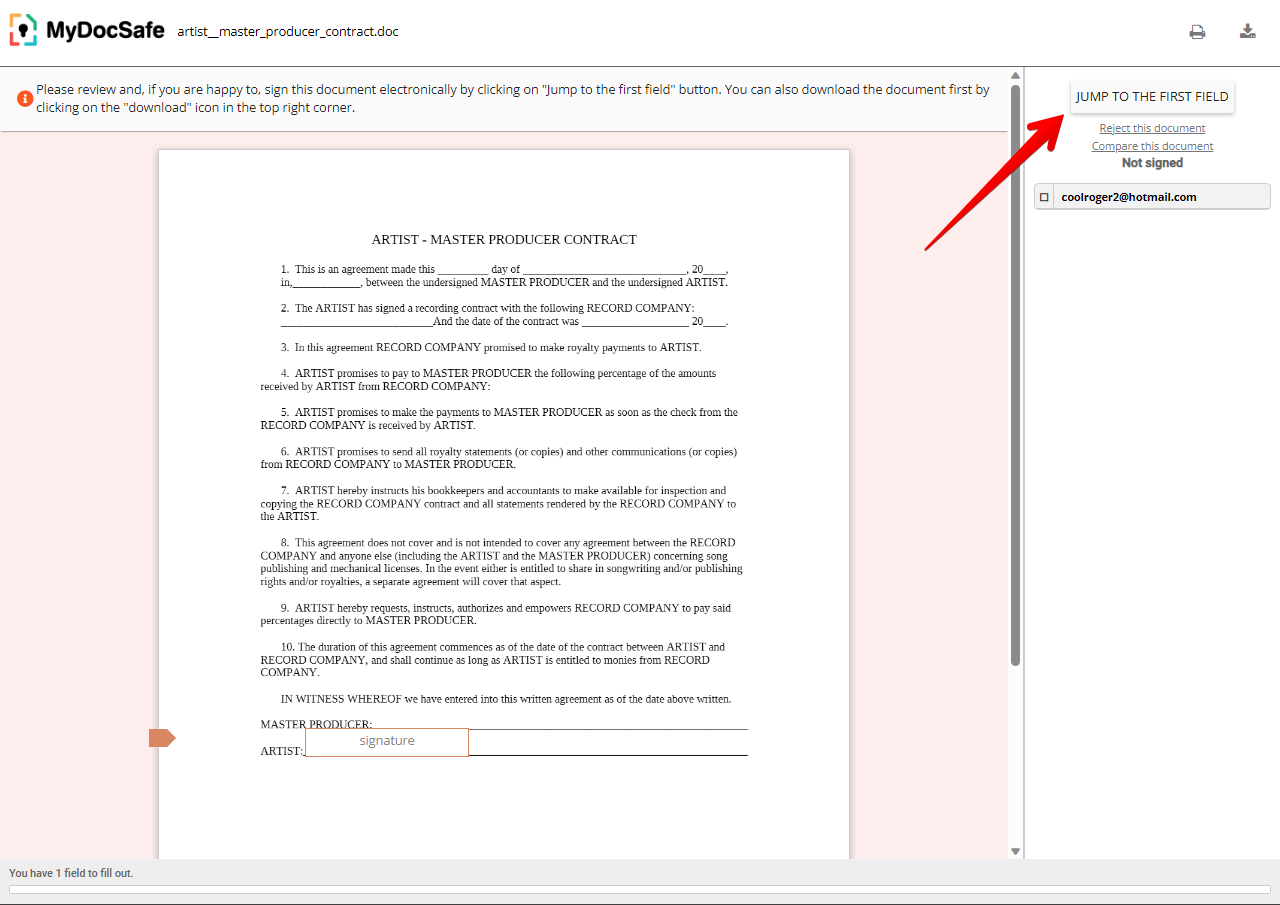
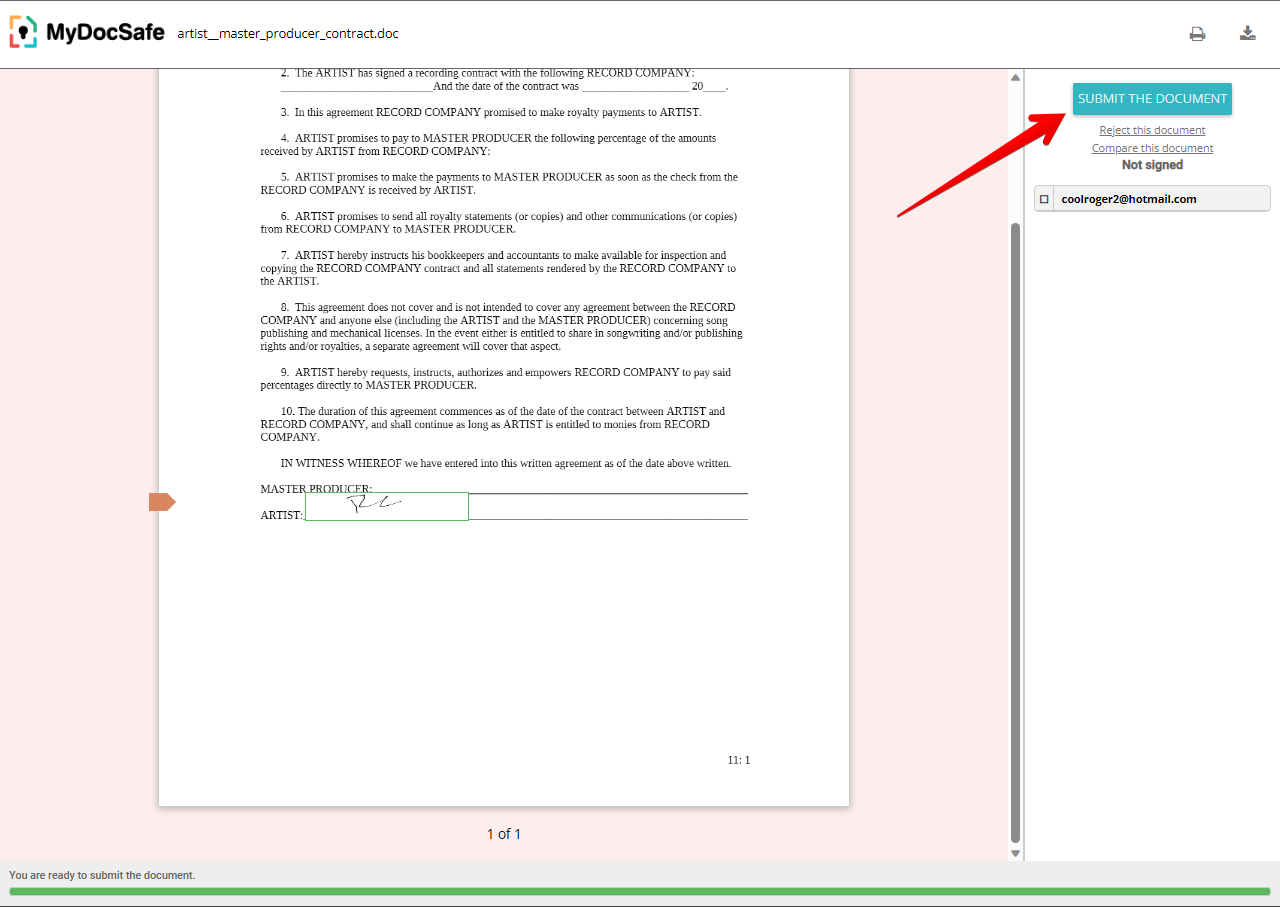
You will immediately be redirected to a new window displaying the submitted document. You can review it from there, download it or even print it. After you are ready, you can proceed to sign it. With this in mind, just click on Jump to the first field.
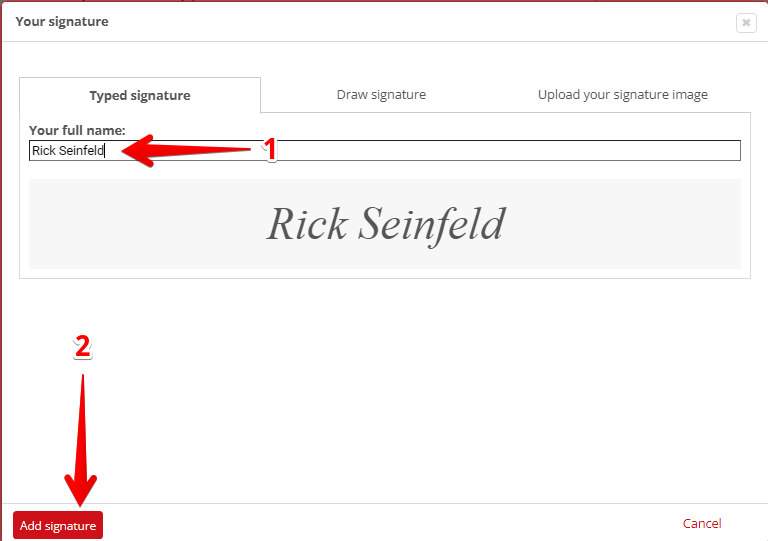
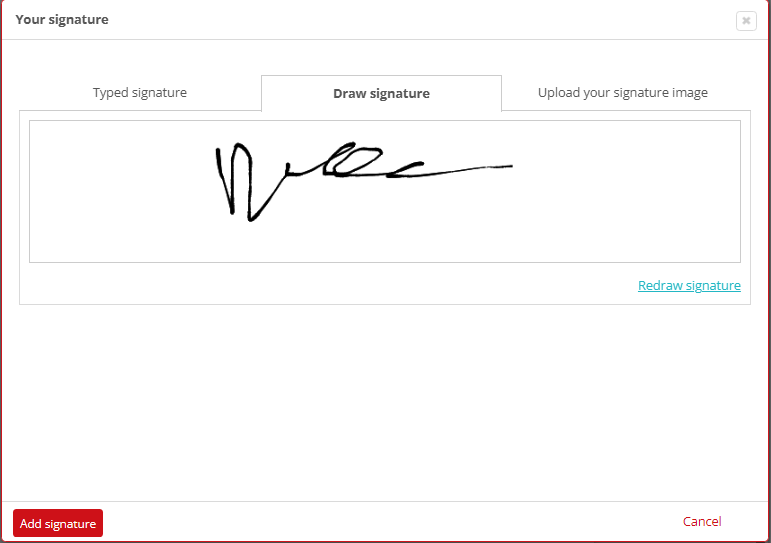
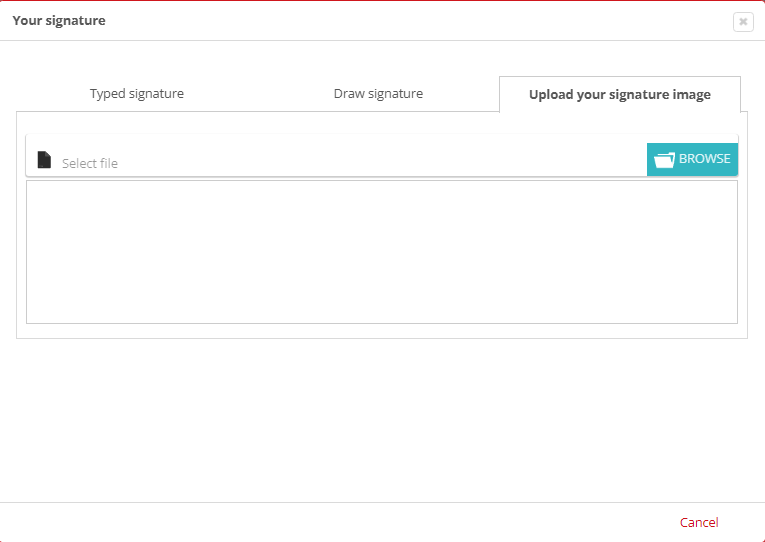
The time has come to sign the document. Consequently, the system offers 3 possibilities: Typed signature where you can type the name for the signature.Draw signature where you can sign freely in a box, using the mouse pointer. Finally, you can Upload your signature image. In any of the cases, when you finish the signature, you just have to press the Add signature button.
Then, you just have to submit the document.
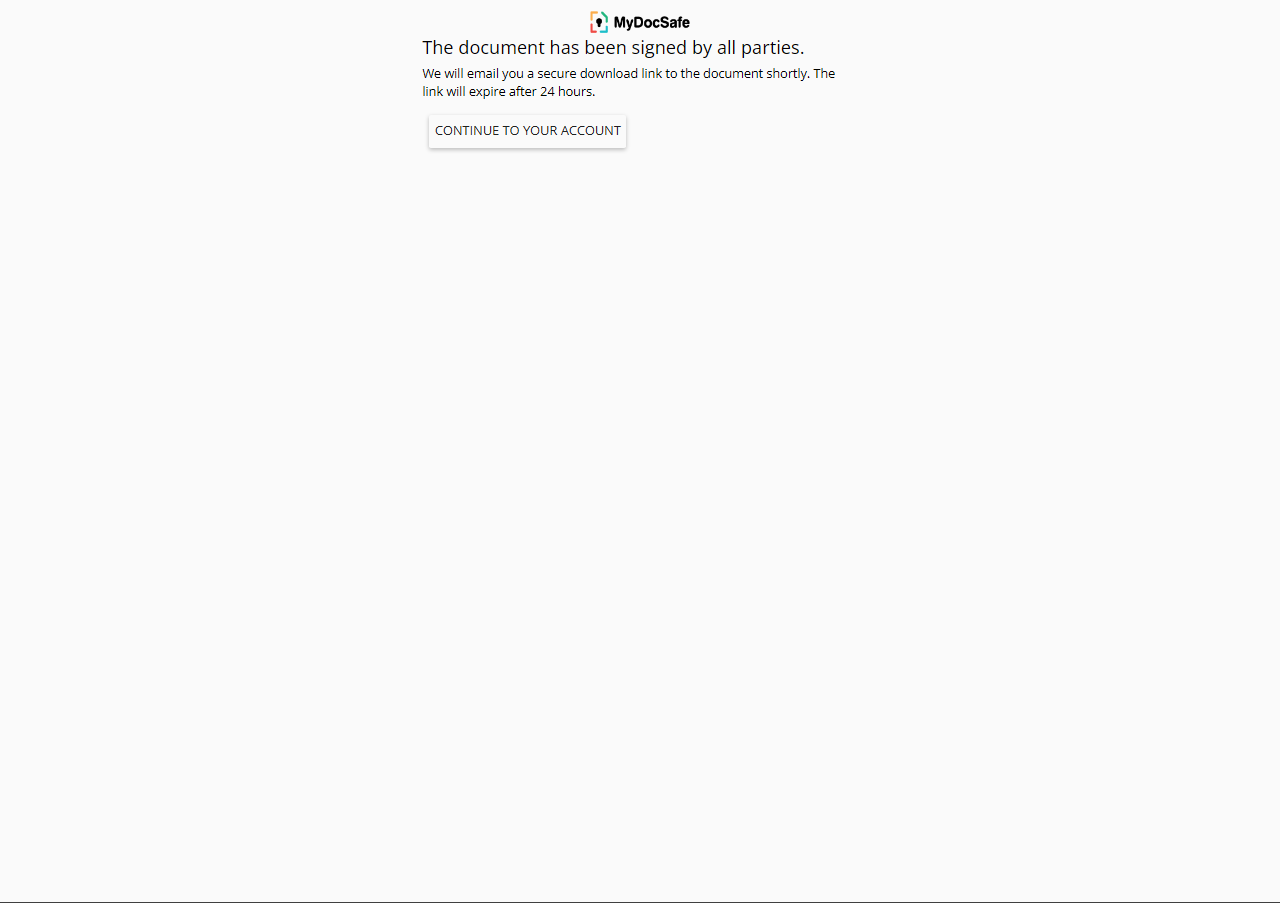
Finally, you will see a confirmation of the signature.
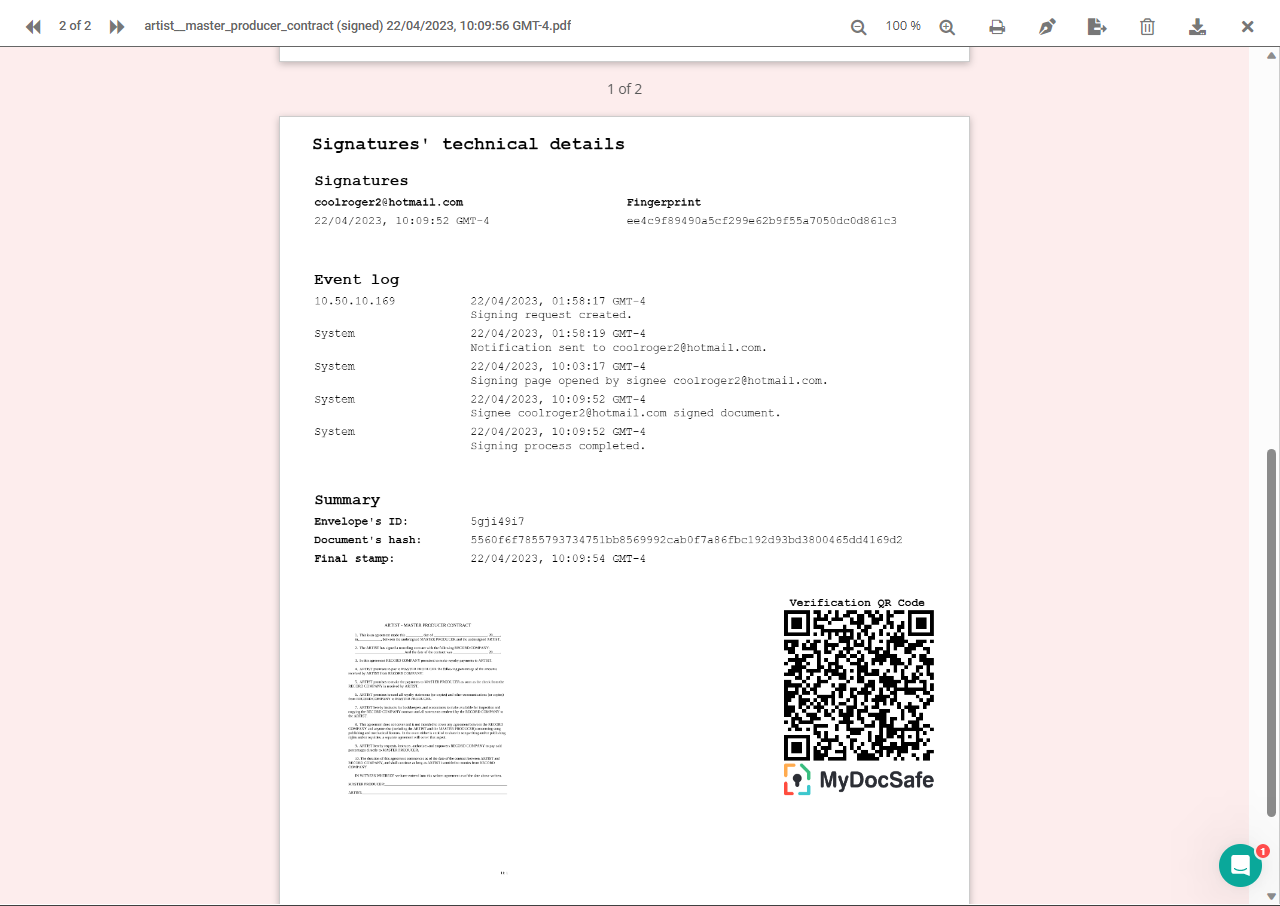
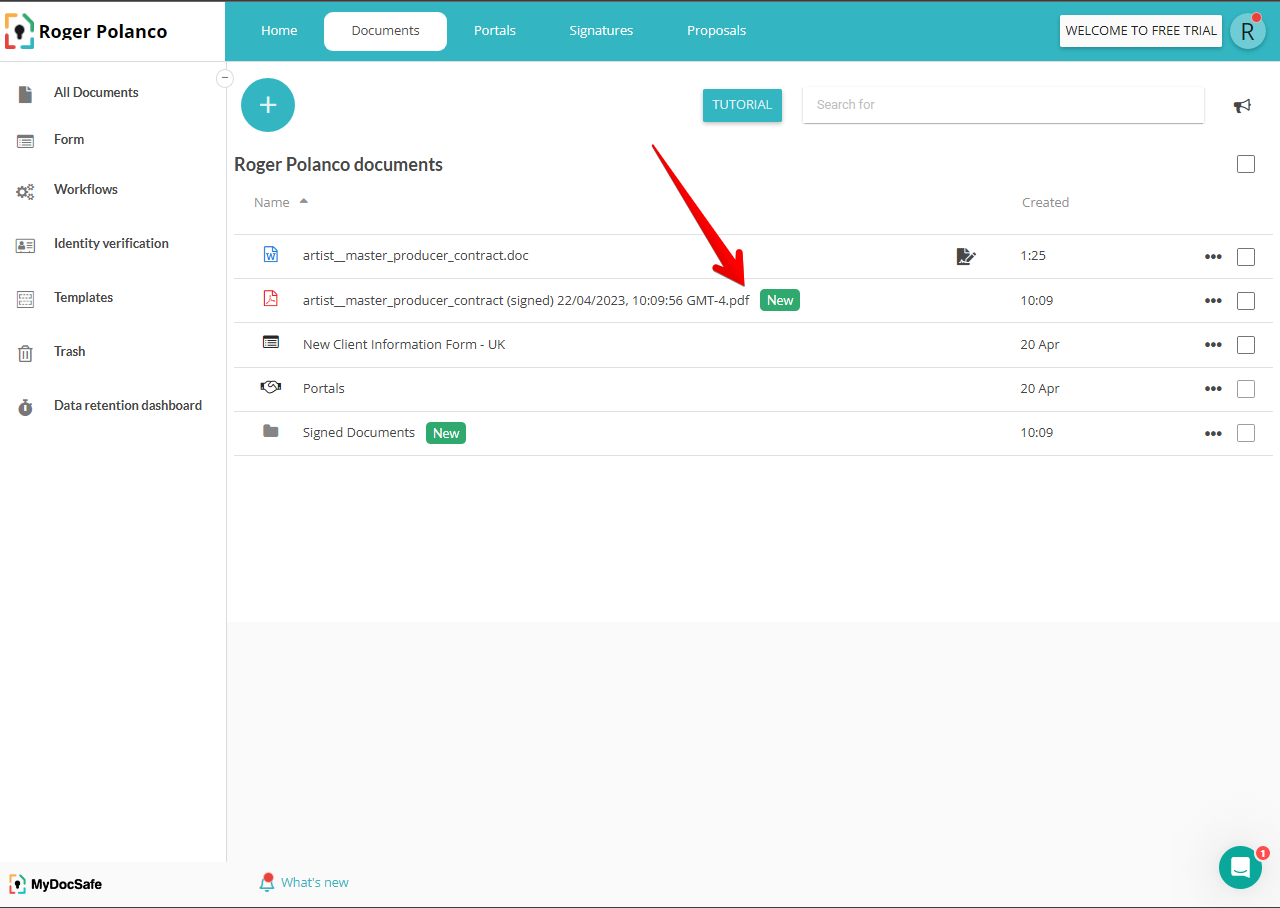
Back to the dashboard, you can view the duly signed document in the document section. It is also in PDF format. Just click on it to view it with the secure signature applied.
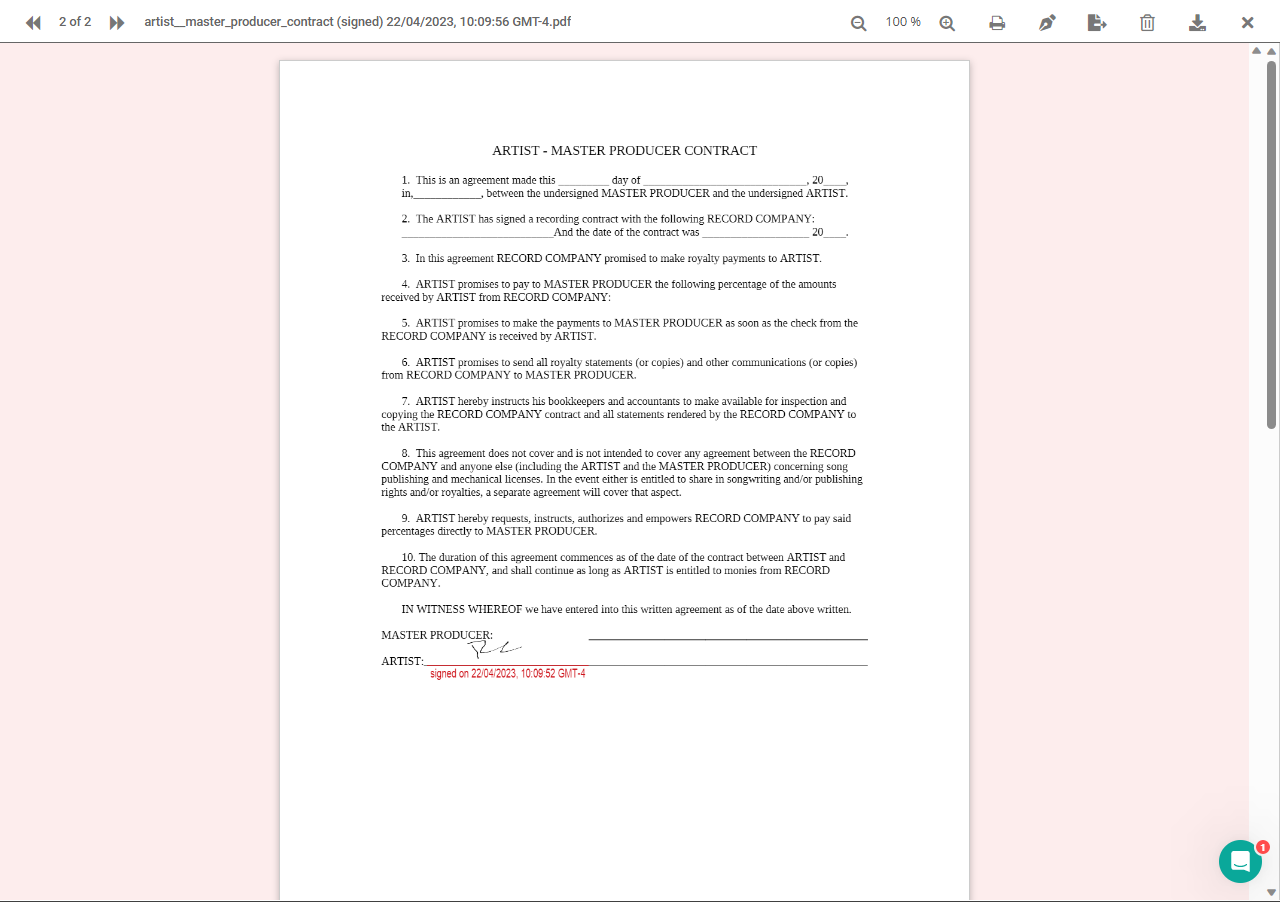
However, MyDocSafe does not stop there. In fact, if you scroll down you will see security details such as fingerprint, signer identification, final stamp, and a timeline of security events. Plus a QR code for verification. All this helps to preserve the security of the signature and the document itself.