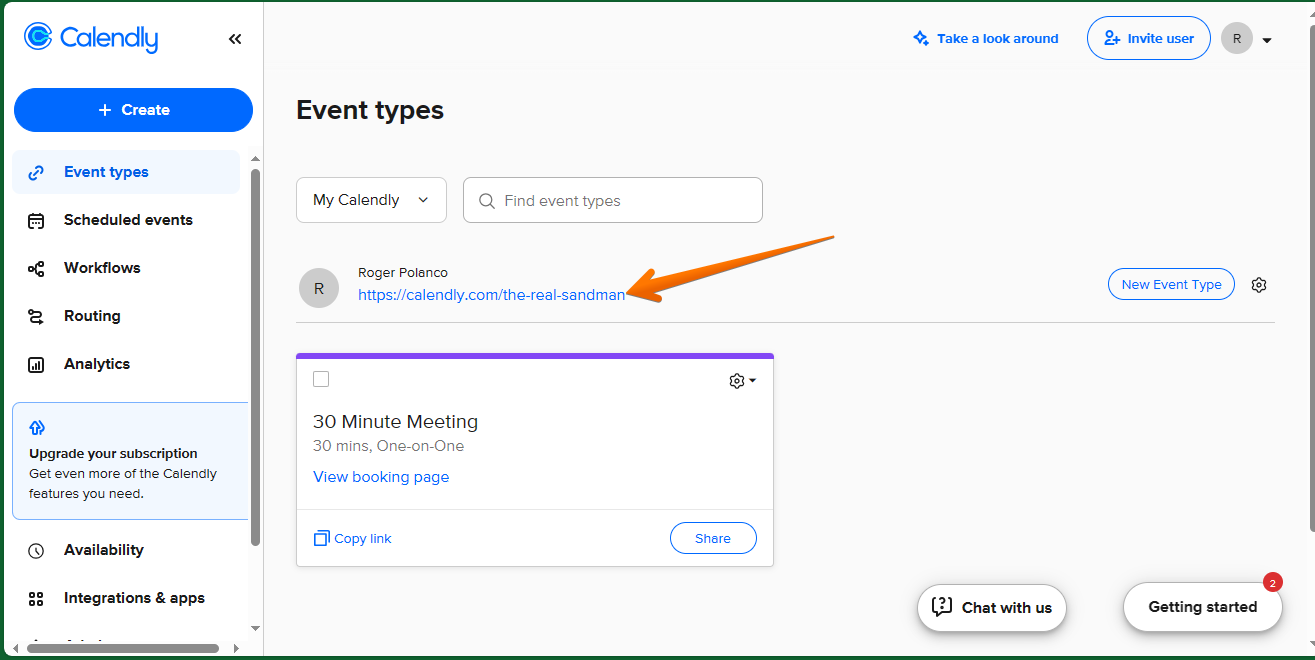
Calendly is a scheduling automation platform that helps you schedule appointments without the need for back-and-forth emails. You can sign up with Google, Microsoft, or email and customize your team’s schedules, solutions, and integrations. Calendly offers features such as team-based scheduling, solutions and integrations for every department, and advanced security features. You can use Calendly to eliminate the back-and-forth emails to find the perfect time for your appointments. Calendly offers easy scheduling ahead and routing. Calendly is a free platform, and you can sign up with Google or Microsoft. You can also sign up with your email and no credit card is required.
Account Settings in Calendly
Before starting to schedule events in the calendar, it is necessary to verify if the account is configured correctly. In this way, we avoid possible synchronization problems or any inconvenience with the events. With this in mind, let's click on the button located in the upper right corner. Once this is done, a menu will be displayed. Please scroll down to the bottom and click on Profile.
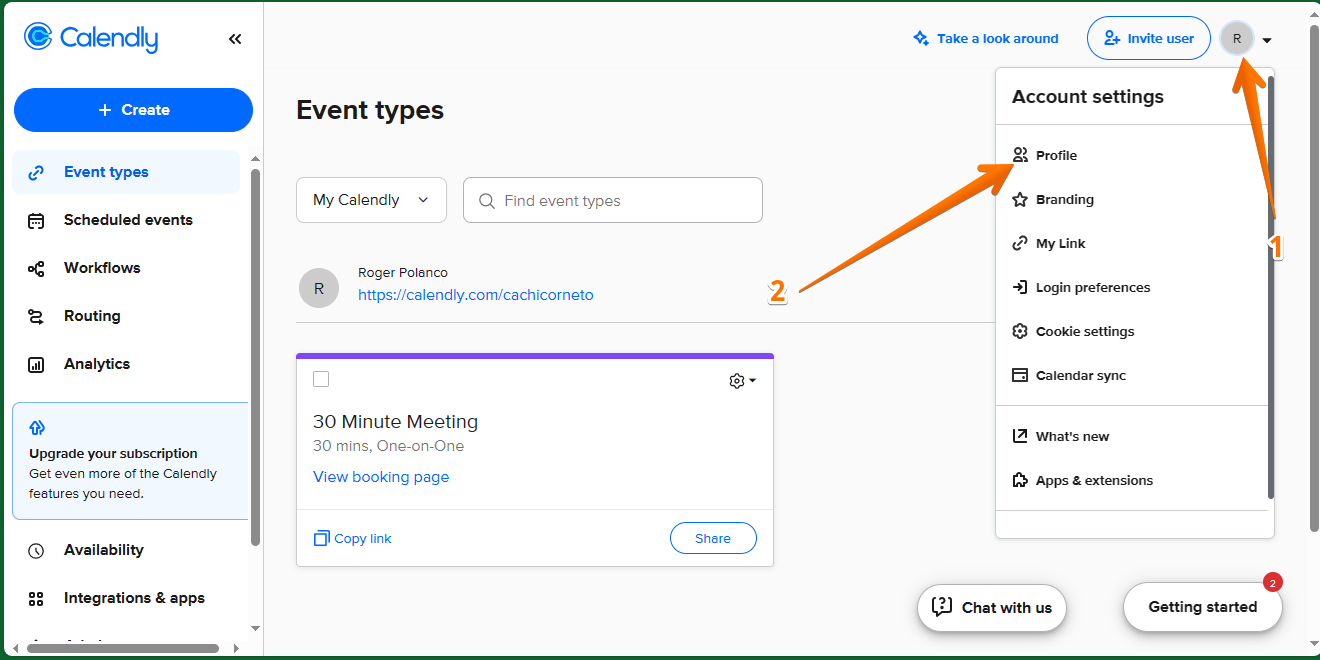
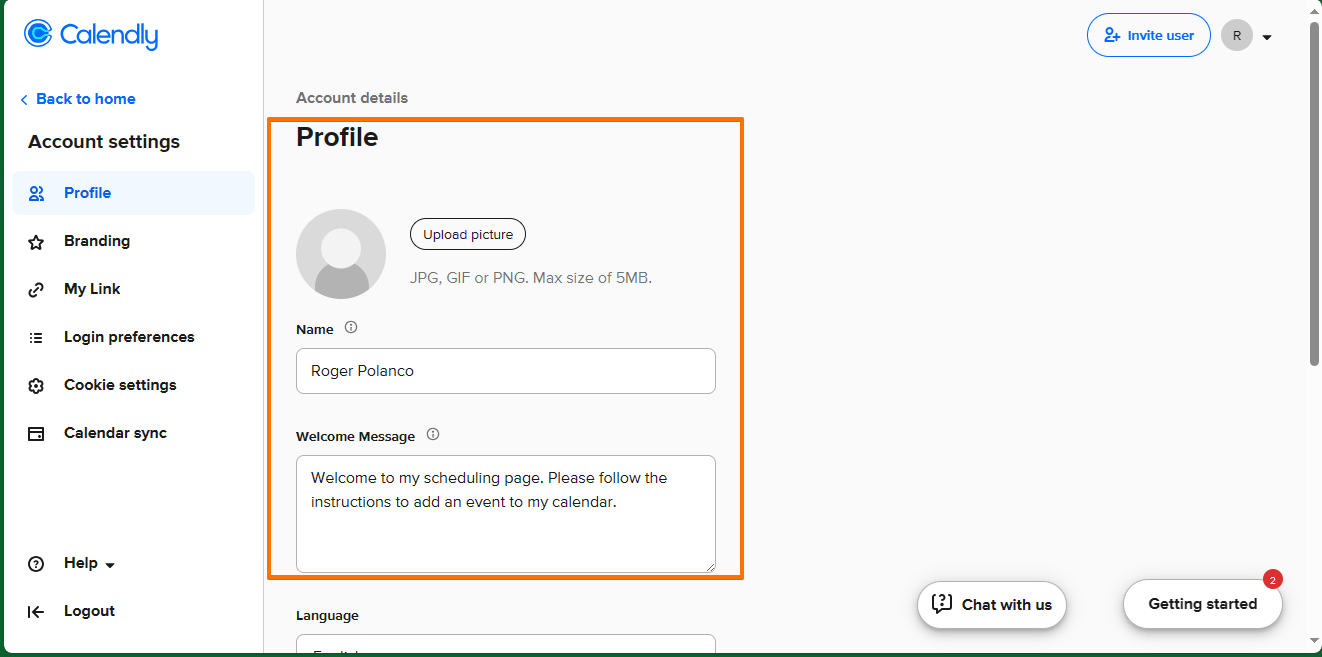
You will immediately be redirected to the profile section. Once there, you will be able to configure a series of essential elements for the correct functioning of the tool. For example, you have the option to set up a profile picture, in addition to your username and a welcome message which will be displayed just below your profile picture.
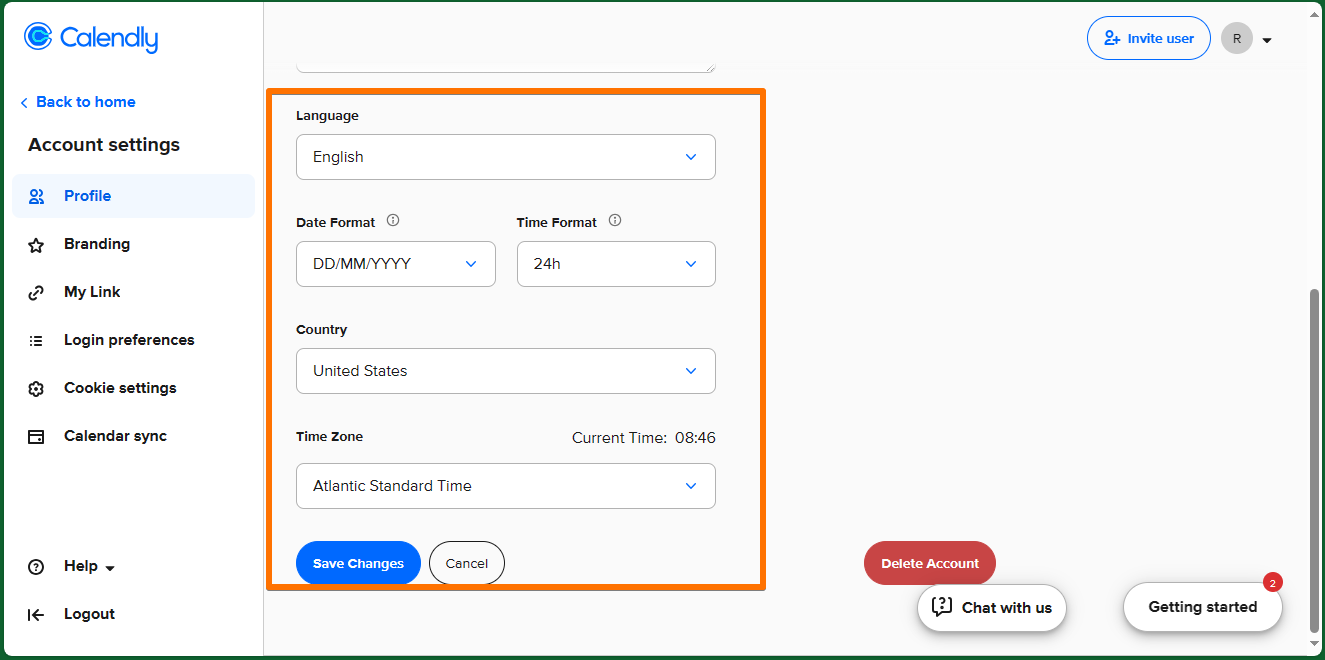
Next we will set details regarding the profile location. In fact, we will be able to set the preferred language. We will also be able to configure the date and time format set in the tool. Finally, there is the option to set the country and time zone. We also have a clock that allows us to check if the configuration is correct.
Next we will set details regarding the profile location. In fact, we will be able to set the preferred language. We will also be able to configure the date and time format set in the tool. Finally, there is the option to set the country and time zone. We also have a clock that allows us to check if the configuration is correct. It is good to remember that Calendly automatically detects the time zone of the guests when they visit the page. Consequently, what we set here is the time zone that will be displayed on the host's side.
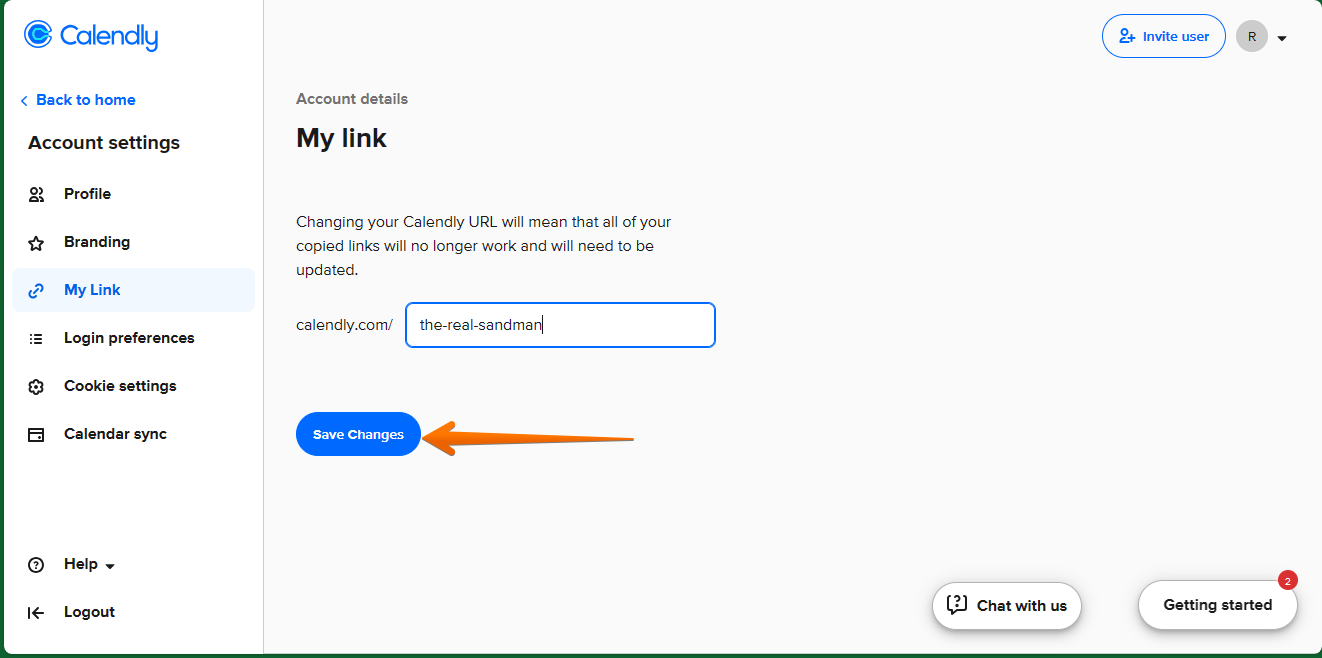
On the other hand, in the menu located in the left column of the tool, there are several options to configure. For example, we can click on the My Link option. This allows us to establish a personalized link for call bookings. By default, the system uses the username. However, it is possible to set a custom value. To do so, we must type it and check that it is available. If so, just click on Save Changes.
Back to the home page, we will be able to see the new personalized booking link.